
First of all, everyone hates a meandering introduction. I know this. This is not an introduction. This is the methodology. Real quick, I’m sorry this was late, one of the kiddos was sick and with COVID and the holiday, stress levels were high. It was just an ear infection, but my anxiety doesn’t do well with medical stuff since 2013. I appreciate your patience. As always the best way to help out is to share the recipe on your favorite platform. THANK YOU!
The recipe written below will be bare bones and relies on your having read and understood the process. Yes, it’s an absolute lame name, and I am more than open to suggestions. Pot roast can be the epitome of comfort food. It’s that meal that can be so easy to slap in a slow or pressure cooker chunk in some onions or a packet of onions soup mix, a can of cream of mushroom. Toss in some carrots and celery and call it a day.
No one complains, it is delicious.
When I write out the recipe below, I want you to understand that this recipe is malleable. If something is important I’ll explain its role. The technique is what matters the most. Don’t be scared of the times. This recipe really doesn’t have much active participation. You have the prep step, using mise en place will make your life significantly easier, but before even that, pull your chuck roast out of the refrigerator and set it on a rack over a sheet pan (or large plate) and liberally sprinkle it with kosher salt on both sides. Set it aside to rest to approach room temperature.

This recipe calls for two batches of carrots and celery. The first is to help build mire poix, which a blend of carrots, celery and onions, which will build the flavor of your meal. The second, set aside for now.

While the pot roast is salted and resting, dice your onions, celery, and onions into relatively equal size. Any celery leaves should be set aside for later use. Place your mirepoix into a bowl and set aside.
If you have a slow cooker, have it set to low if you will be cooking for 8 – 10 hours or high if you will be cooking for only 4 – 5.
If you will be using a pressure cooker such as an Instant Pot that has a slow cooker function, go ahead and turn this on and place the rack inside. You will NOT be using the slow cook function to cook your roast, it’s to continue the cooking process as we proceed through this technique.
Place a large skillet on your stove over medium to medium-high heat. Add two-three tablespoons of oil with a high smoke point. I had peanut oil on hand, but whatever relatively neutral oil you have will work. When the oil shimmers. Place the roast into the pan.
Expect it to be loud. If there is smoke, your oil is a bit too hot, remove the pan from the heat and reduce the heat before returning it to the burner. Allow the roast to cook for about two minutes before turning. If the roast does not have any brown on the side that has been in contact with the pan, it needs a little bit more time or you may need to increase the heat. Allow the roast to cook for another two minutes. Move the roast to your slow cooker or pressure cooker and cover.
The next step will likely take at least 15 minutes, it may go as long as twenty. Turn the heat to medium or even medium-low (it depends on your stove) and add the mirepoix to the pan that was cooking the roast. Give it just a minute and then use a wooden spoon, preferably with a flat edge to scrape up the browned bits (fond) from the bottom of the pan. Now comes the hard part. Leave it alone.

To do this, I use this time to halve my grape or cherry tomatoes, to slice my mushrooms, if I’m using any, to mince my 6 – 8 cloves of garlic, to open my bottle of wine, or to heat up my beef stock if I am not using wine. You can stir the mirepoix once in a while, but not often. I want you to resist the urge to hurry this step. Give it time, the flavors NEED to develop and you really can’t rush this. First, your onions will start to get soft, then they will get translucent, then they will turn golden, and finally, they will start to darken. THIS is the moment you are waiting for. Add your tomatoes.

Add your garlic, and your mushrooms, if they will be joining the party. Let the moisture from the new friends be released and begin to scrape up the new fond that has developed. Now is when you can add your seasonings of choice – add your thyme, marjoram, rosemary, black pepper, and wait for the smell to strengthen.

And finally, this is the moment you hit that pan with your wine or beef stock. Be generous, a good cup if you are taking the slow cooker route, a cup and a half for the pressure cooker crowd.
Stir well. Scrape every bit of goodness up. Bring to a simmer and then pour over your roast. Don’t miss a drop.
Remember those celery leaves? Add them on top.

If you are slow-cooking Add the root vegetables that will cook with your roast. Salt and pepper, don’t go too nuts if you used beef stock. Cover. If you are doing this in the afternoon, put it on high and come back in 4 hours, stick a fork in the roast, if you can turn it, it’s done. If you can’t give it another hour. Roasts are individual, it depends on your cow, some were tough old broads and some were delicate flowers. I can’t tell you what you have in your pot. If you are doing this in the morning, set it to low and let it go for 8-10.
Set your pressure cooker for 55 minutes, but let it release naturally for 15 minutes before venting. You can cook the root vegetables after removing the roast and setting it aside. It will take about 20 minutes total with 5 minutes at pressure, but it will take 15 to get there.
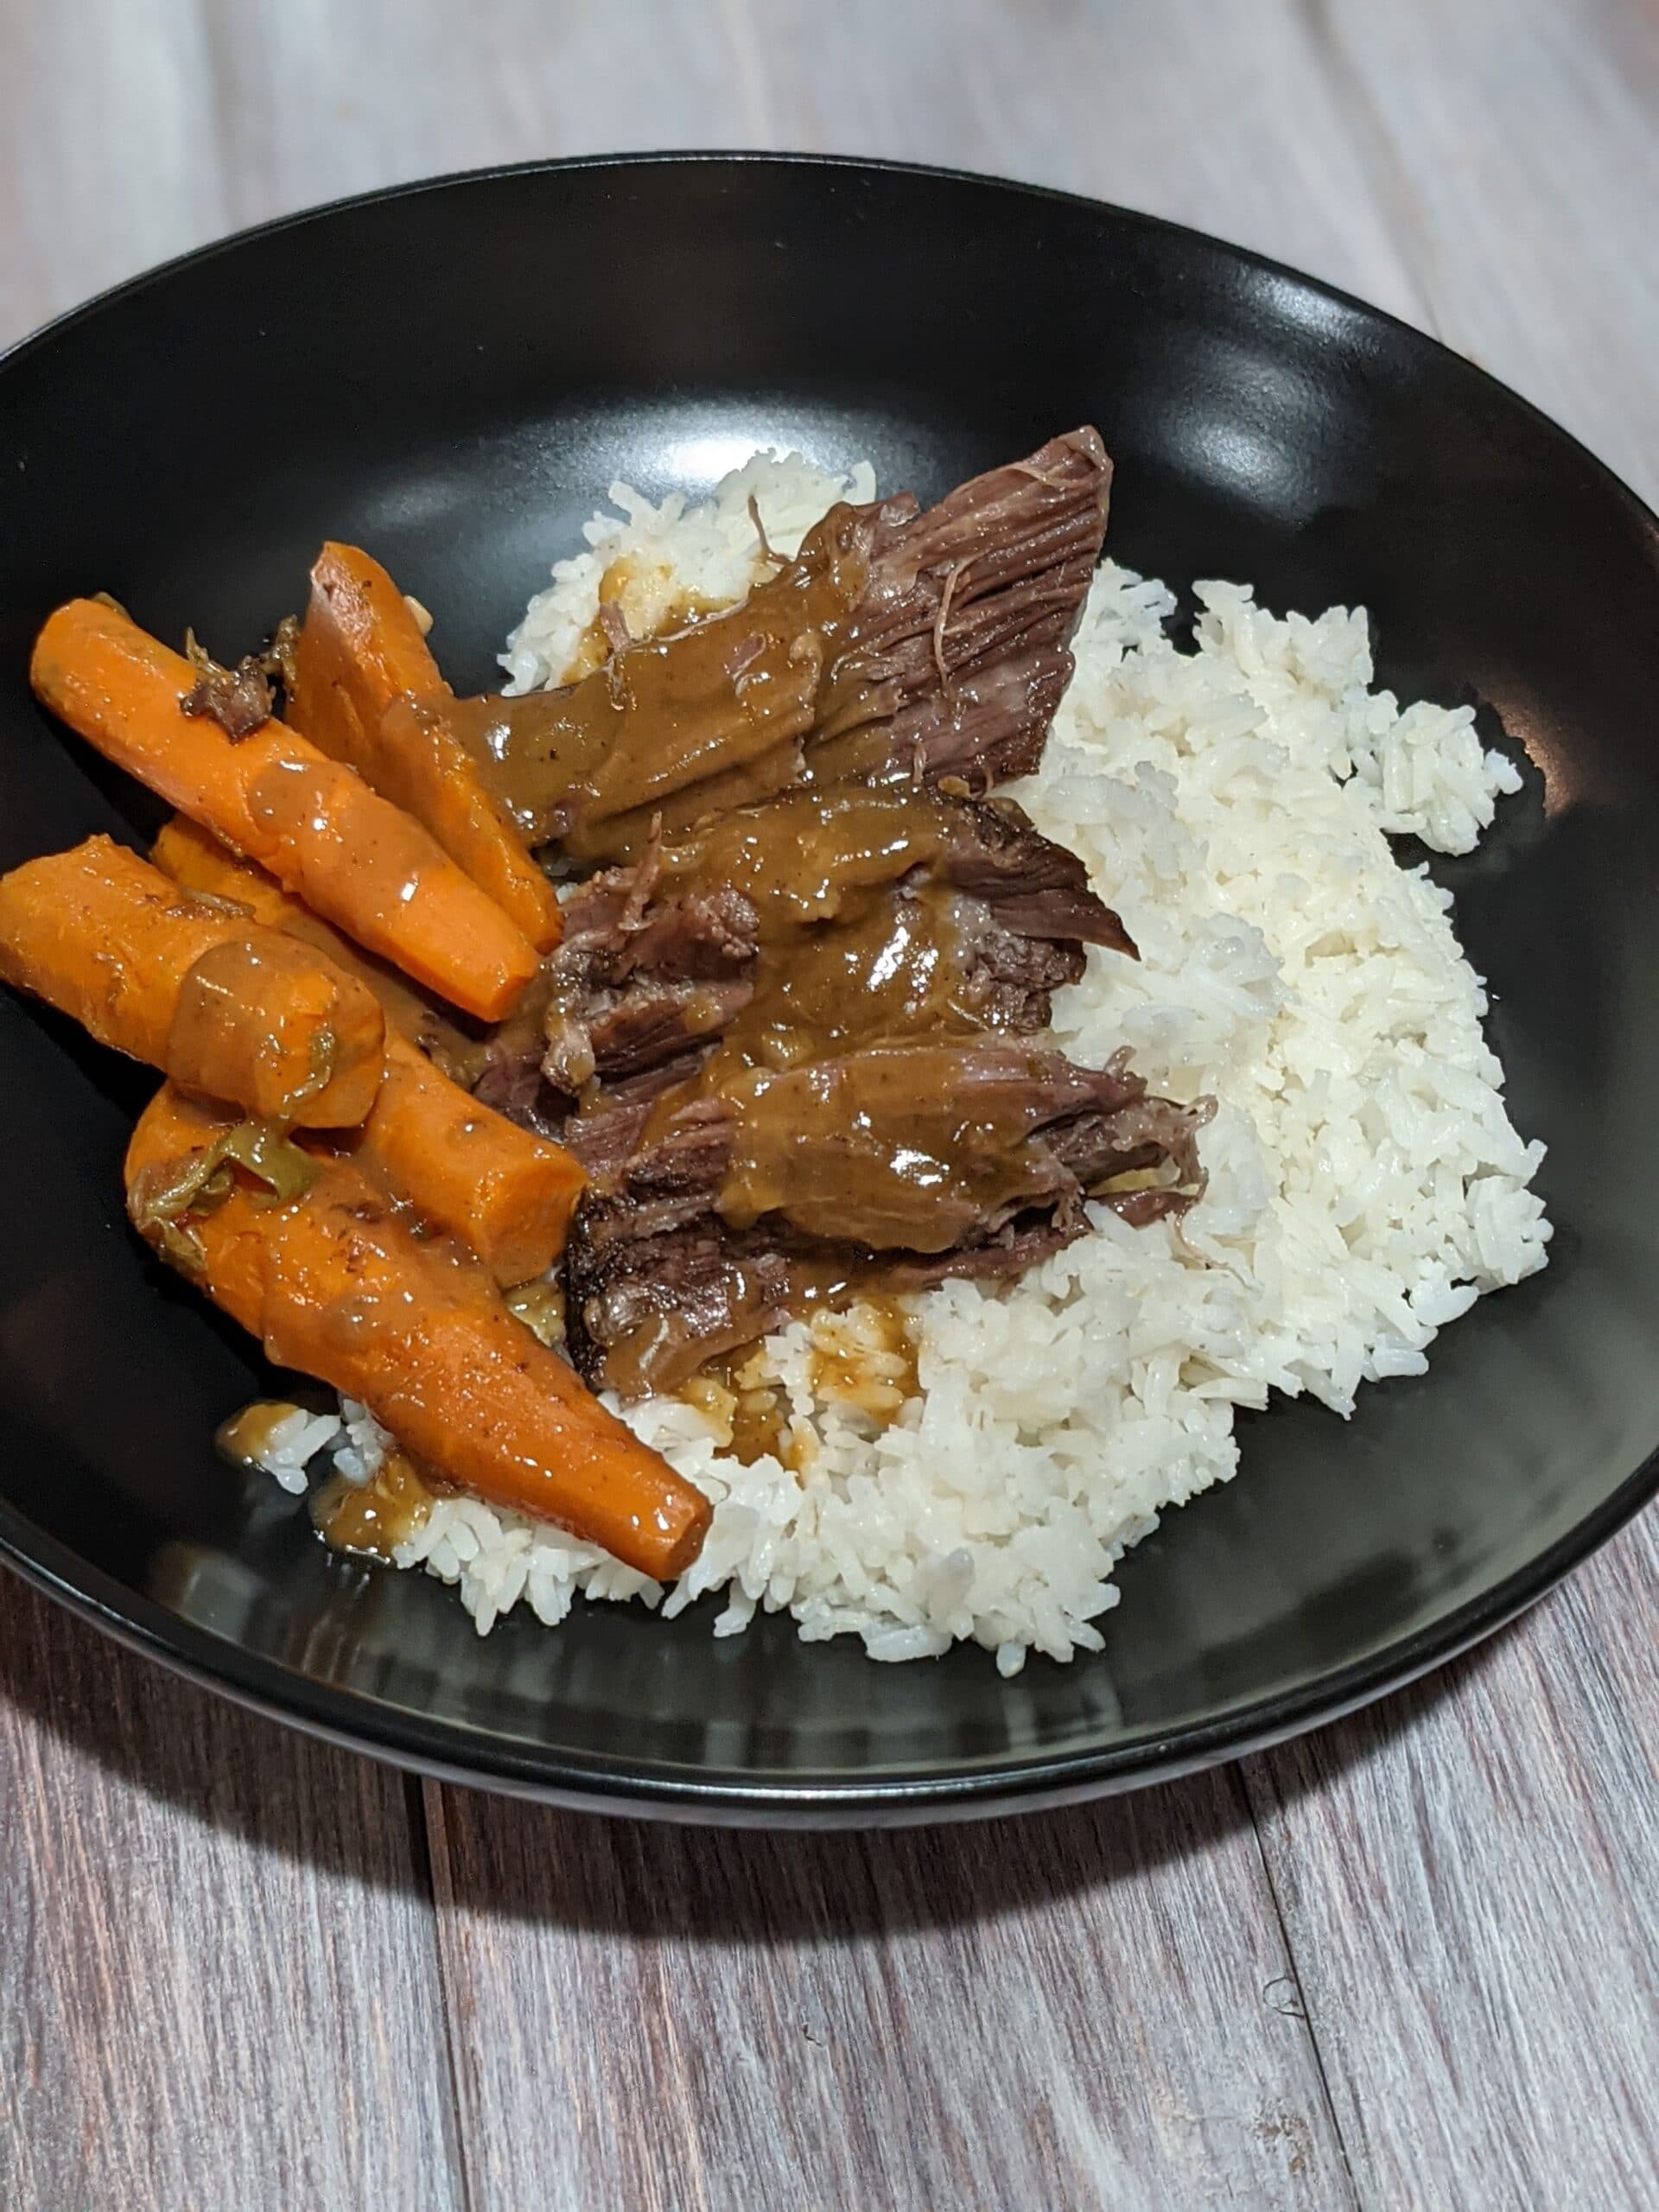
Now this pot roast is perfectly fine served with rice and the vegetables, but… if you have pot roast, you want gravy, right? I got ya. I made a video over on Instagram of how to make pan gravy from the pan juices. You will want to use a fat separator. Our 3lb roast had about 1/4 cup of fat, so I used about 1/4 cup of flour. If you want to get fancy, you can weigh your fat and weigh your flour. I kind of eye ball it. In the same pan I cooked the vegetables in, I warmed it to medium. Added the fat, straight from the separator. Since I wasn’t SUPER careful, a little of the liquid made it into the pan and quickly cooked off. I waited for that before adding me flour. I also want to state that I squashed the heck out of the remaining veg (not the ones to be served with the meal) to be sure I got all of the goodness into the pan juices. If you felt like it, now would be a great time to break out an immersion blender, if you have one.
I stirred the flour into the fat to make a roux. Now a lot of people make gravy out to be this thing. I need you to understand it LOOKS scary. It always looks scary. It always looks like you screwed up. It always will. I pretty much say at least three very bad words every time I make gravy. It’s just the nature of gravy and that is ok. The key is to tell yourself it is going to look like crap for a moment, just KEEP STIRRING. When it bubbles up and looks like dough, that’s normal, STIR. As soon as it smooths, add more liquid. As soon as it smooths, add more liquid. The link below is from the Instagram highlights I put together that demonstrate how obnoxious gravy can look before it all comes together.
Now, about the video, I’m pointing to. I asked my husband to hold my phone to film it. I didn’t realize he got his feet in the video 🙈. That’s why there is text over the bottom of the video. Next time I’ll pay attention to the framing.
Finally, a moment of real talk before I insert the recipe. If you don’t want carrots, use parsnips, use potatoes, use turnips, or rutabagas. That part isn’t the important part. What matters is that you gave the aromatics in the first part of the recipe time to develop and that is what set you up for one of the best pot roasts you’ve ever had.
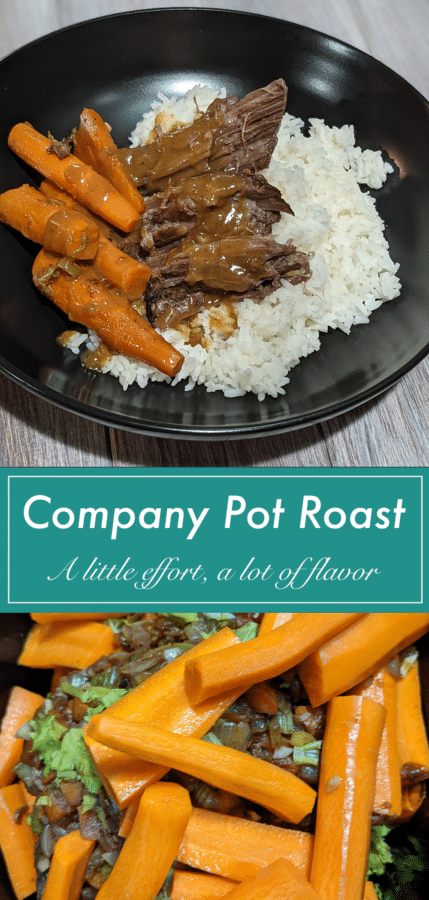
Company Pot Roast

A little time consuming, but with a big wow factor
Notes
Excellent served simply with rice and perfect for company. We've received many compliments for this meal
Ingredients
- 1 3 lb chuck roast
- 2 - 3 TBSP veg oil with a high smoke point
- 2 yellow onions - diced
- 8 large carrots (3 peeled and diced) 5 peeled, cut into large chunks
- 5 small yellow potatoes - peeled (optional)
- 3 large celery ribs - diced, leaves set aside
- 6 - 8 garlic cloves - minced
- 2 cups grape or cherry tomatoes - sliced in half
- 1 pint baby portabella or button mushrooms sliced (optional)
- 1 - 1.5 cups red wine or beef stock, or dark beer
- Thyme, Marjoram, Rosemary - to taste
- Kosher salt
- Black pepper
Instructions
- Salt both sides of the chuck roast, allow to rest at room temperature for 20 - 30 minutes
- Heat oil in a large, straight-sided skillet, over medium - medium high heat.
- Cook both side of the roast in the skillet.
- Set the roast in the slow cooker
- Add the diced, onion, carrots, and celery to the skillet and allow to cook for 15 - 20 minutes.
- Add the tomatoes, optional mushrooms, garlic, seasoning, and preferred liquid.
- Allow to come to a simmer.
- Pour over the pot roast.
- Add the remaining carrots and optional potatoes.
- Allow to cook for 4 - 5 hours on high or 8 - 10 on low.
- Remove the roast.
- Remove the roast and vegetables from the cooking liquid.
- Pour the cooking liquid into a fat separator. Separate the remaining mirepoix from the liquid
- In a pan allowed to heat to medium, combine approximately 1/4 cup of the separated fat with 1/4 cup of flour and stir until smooth and hot. Slowly add the pan juices, stirring between additions until the desired consistency of gravy is achieved. Be aware that each addition of liquid may create a concerning appearance. Stir vigorously until the new liquid has been incorporated.
Nutrition Facts
Company Pot Roast
Serves: 6 - 8
|
Amount Per Serving: 4 - 6 ounces
|
||
|---|---|---|
| Calories | 406.74 kcal | |
| % Daily Value* | ||
| Total Fat 41.41 g | 63.7% | |
| Saturated Fat 24.72 g | 123.6% | |
| Trans Fat | ||
| Cholesterol 315.29 mg | 105.1% | |
| Sodium 121.49 mg | 5.1% | |
| Total Carbohydrate 4.3 g | 1.4% | |
| Dietary Fiber 0 | 0 | |
| Sugars 3.79 g | ||
| Protein 5.26 g | ||
| Vitamin A 44.17 % | Vitamin C 0.8 % | |
| Calcium 10.44 % | Iron 2.76 % | |
* Percent Daily Values are based on a 2,000 calorie diet. Your daily values may be higher or lower depending on your calorie needs.
Home-Ec 101
See you next week!
That looks so freaking good!!! I love pot roast.
It really is. Give it a try and let me know how it turns out. I just used this as a base for venison stew and I am so looking forward to lunch today and it’s not even 7 am.